DNS and rDNS managment with Contabo
DNS Management
In DNS management you can maintain the Domain Name System (DNS) for a domain, which includes configuring DNS records to the correct IP addresses for websites, emails and other services.
Setting Up DNS in Your Contabo Account
1. Open new.contabo.com
Log into your Contabo Customer Panel.
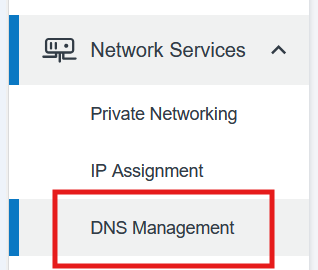
2. Open DNS Management
Click on ‘Network Services’ on the left side of the screen, then choose ‘DNS Management’ from the drop-down menu.
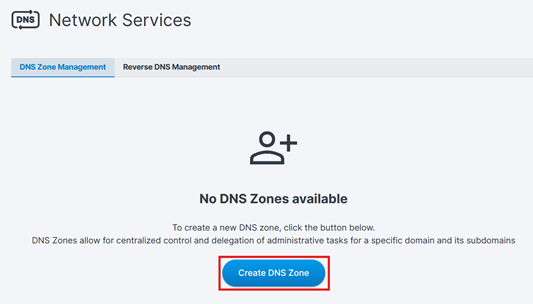
3. Create DNS Zone
Click on the blue ‘Create DNS Zone’ button.
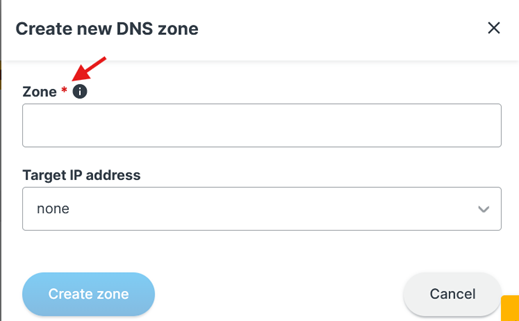
4. Enter your domain name
In the Zone field, enter your domain (e.g., example.com) and create the zone.
Adjusting the DNS Zone Record
You can update your DNS zone record whenever needed.
1. Click on your ZoneName under DNS Zone management
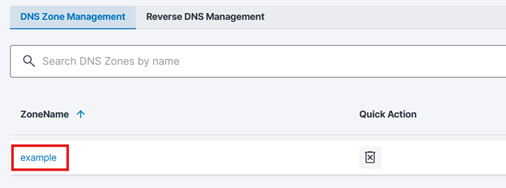
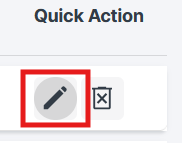
2. Click on the pencil icon under Quick Action
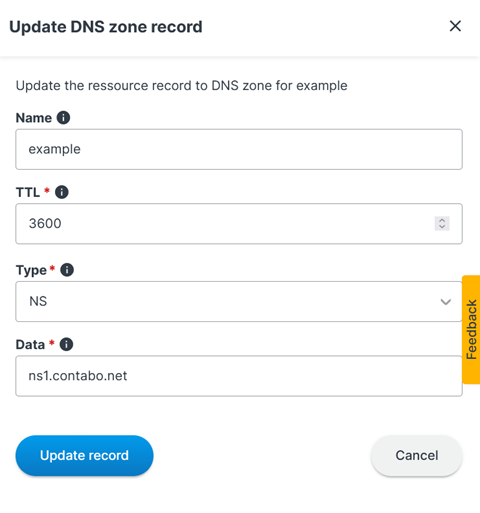
3. Update the DNS zone record
- Name: For example, if your domain is domain.com and you want to point a subdomain using an A record, enter the full subdomain name in the Name field, such as: subdomain.domain.com.
- TTL: TTL stands for Time to Live. It defines how long (in seconds) DNS resolvers may cache the record before checking for an updated version. If you’re unsure which value to use, set it to 86400. The minimum allowed value is 14400.
- Type: DNS records can serve different purposes depending on the record type. The most common types are:
- A – points a domain to an IPv4 address
- AAAA – points a domain to an IPv6 address
- MX – specifies which mail server handles email for the domain
If you’re unsure which type to choose, you most likely need an A record.
- Data: The Value field contains the destination your DNS record should point to.
- For an A record, enter the IPv4 address (for example: 91.194.90.1).
- Other record types use different values—for example, an MX record requires a mail server hostname (such as mail.domain.com).
That’s why this field may contain either an IP address or a domain/hostname, depending on the record type you select.
Reverse DNS Management
In Reverse DNS Management, you can manage the reverse DNS (rDNS) for your server IP addresses. Reverse DNS uses PTR records to map an IP address back to a hostname (for example, IP → mail.domain.com). This is commonly required for email servers and can improve email deliverability.
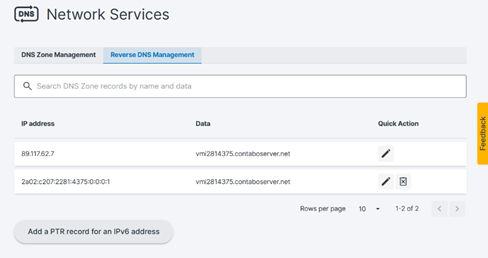
What you see on this page
- IP address: Your assigned IPv4 and/or IPv6 addresses.
- Data: The current reverse DNS / PTR value (hostname) set for the IP.
- Quick Action:
- Edit (pencil icon): Change the current PTR value for that IP.
- Delete (trash icon, where available): Remove the PTR record (mainly shown for IPv6 records).
Add a PTR record for IPv6
If your server has an IPv6 address and no PTR record is set yet, click “Add a PTR record for an IPv6 address”. You’ll be asked to enter:
- the IPv6 address
- the PTR record (the hostname you want the IP to resolve to)
- the TTL (cache time)
When do I need Reverse DNS (rDNS)?
You typically need rDNS (PTR records) if you use your server to send email (mail server, newsletter tool, monitoring alerts, application mail). Many receiving mail providers check whether the sending IP address has a valid PTR record, and missing or generic rDNS can increase the chance of emails being rejected or marked as spam.
You may also use rDNS for:
- Better reputation/trust checks (some services log or validate rDNS)
- Troubleshooting (reverse lookups help identify IP ownership)
Was this article helpful?
That’s Great!
Thank you for your feedback
Sorry! We couldn't be helpful
Thank you for your feedback
Feedback sent
We appreciate your effort and will try to fix the article
