Can I buy a new domain with Contabo?
It is possible to buy a new domain with Contabo via the Customer Control Panel. Below you can find a quick guide on how to buy a new domain.
How do I buy a new domain with Contabo?
1. Access the Customer Control Panel
Open the Customer Control Panel.
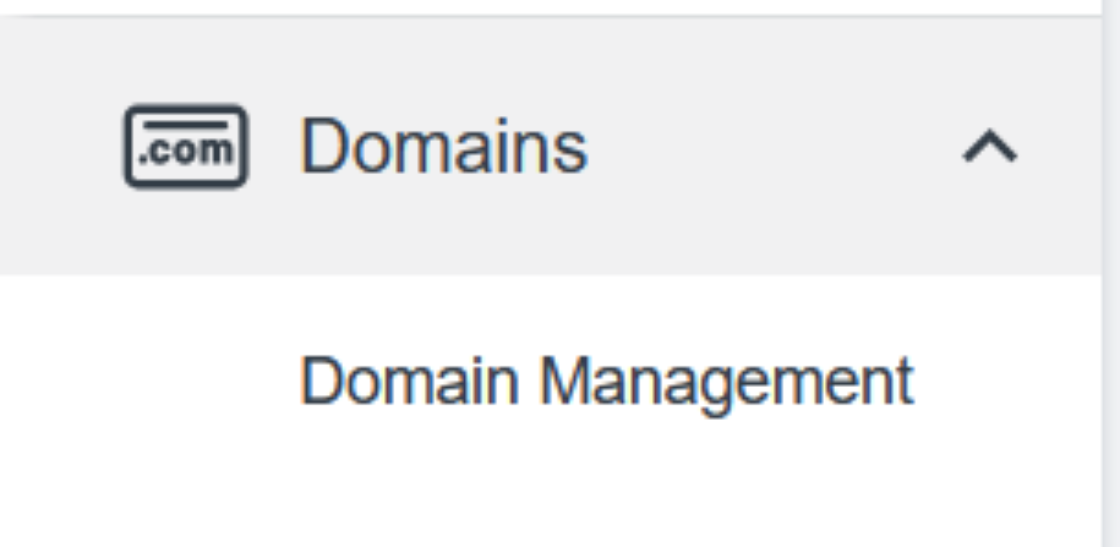
2. Navigate to Domain Management
Click on 'Domains' on the left hand side of the page, then click 'Domain Management' in the drop-down.
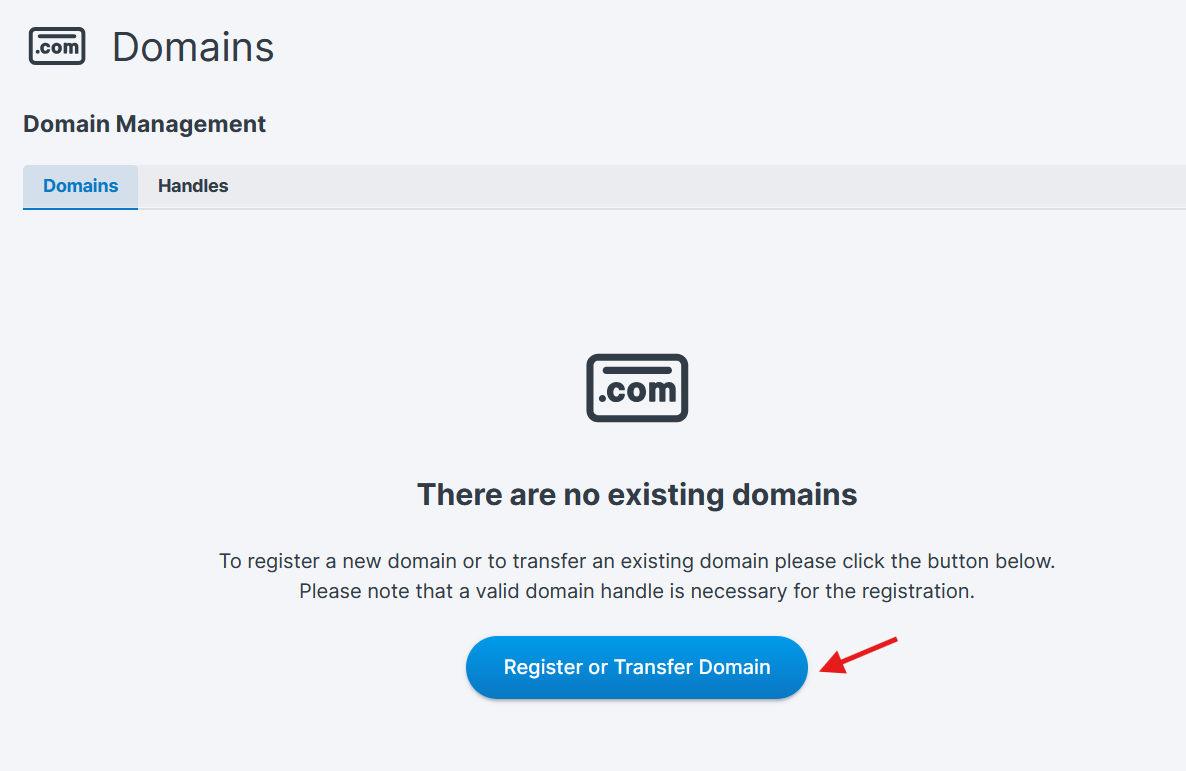
3. Start the domain registration process
Click the 'Register or Transfer Domain' button.
4. Enter your desired domain name
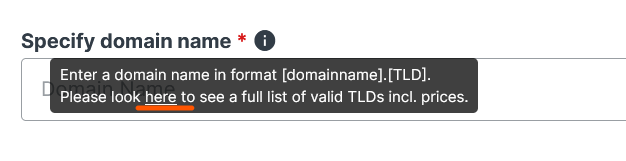
Enter your full domain name in the format [domainname].[TLD]
Once you enter it, the regular monthly price and the contract period for your domain will appear.
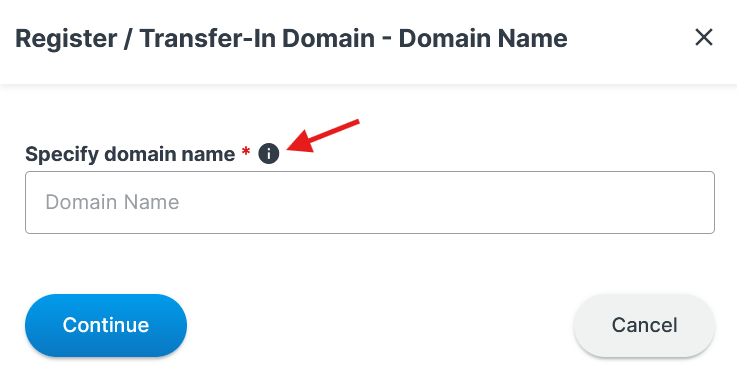
Note: Click on the information sign to check the full list of valid top-level domains and their prices.
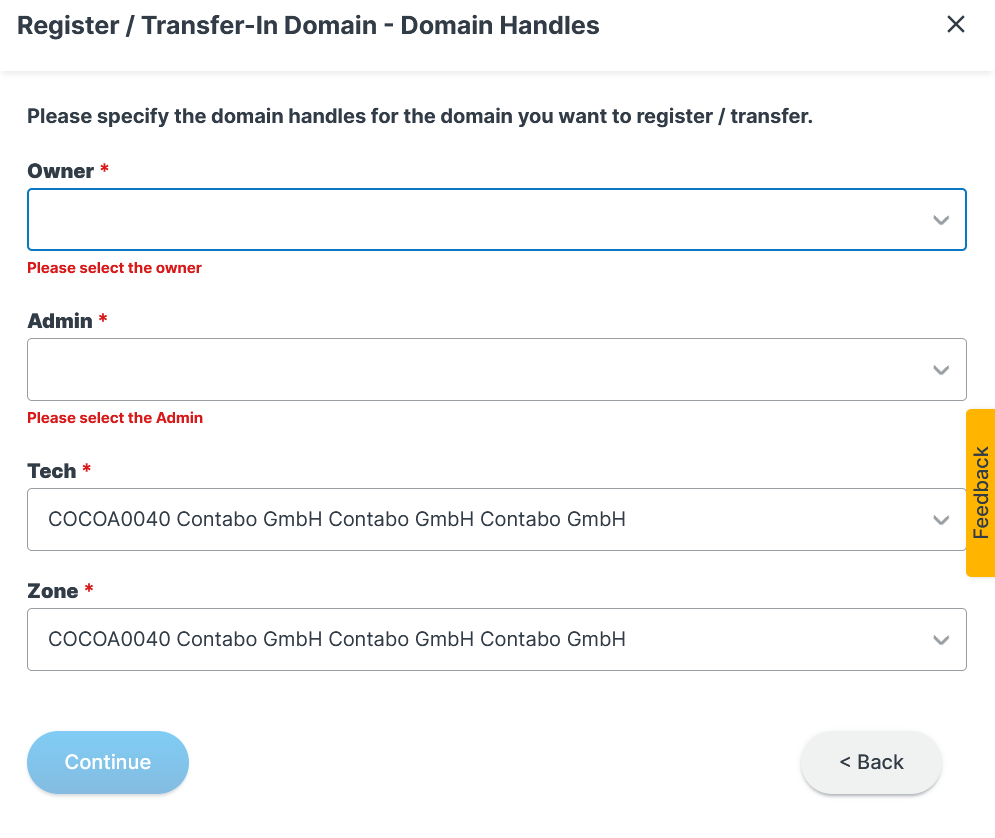
5. Select the domain contact handles
After clicking Continue, you will be asked to specify the domain handles that should be assigned to the new domain.
Owner – Choose the contact handle that should legally own the domain.
Admin – Choose the administrative contact for the domain (often the same as the owner).
Tech – This field is prefilled with the Contabo technical contact handle. You can keep the default value.
Zone – This field is also prefilled with the correct Contabo zone contact. No changes are usually needed.
All fields marked with a red asterisk (*) are mandatory. Once the Owner and Admin handles are selected, click Continue to proceed.
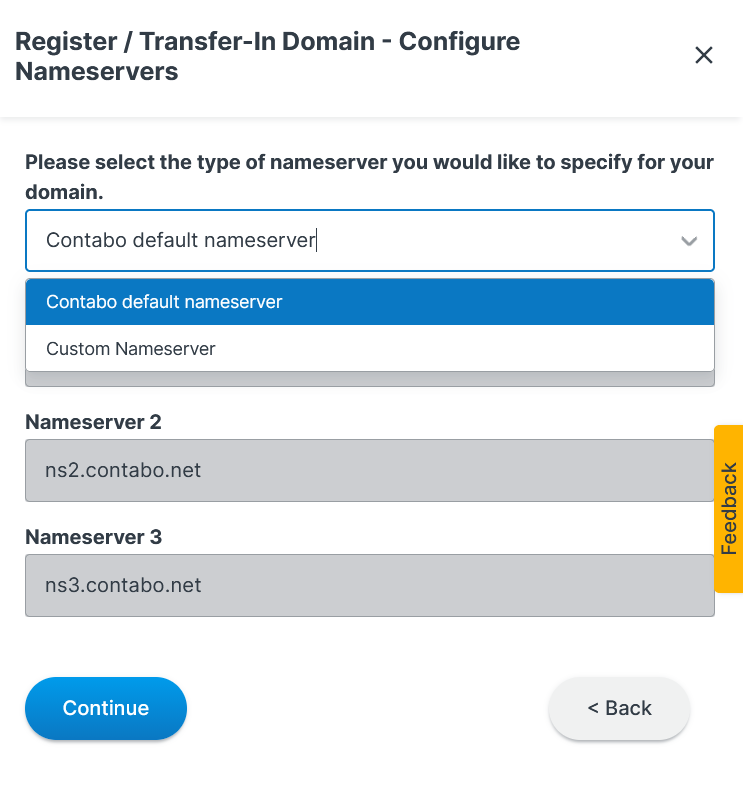
6. Choose the nameservers for your new domain
Next, you will be asked to specify which nameservers should be used for the domain.
In the drop-down menu, select Contabo default nameserver if you want Contabo to manage DNS for you.
When selected, the default Contabo nameservers (e.g.,
ns2.contabo.net,ns3.contabo.net) will automatically appear and no further action is required.
If you prefer to use your own DNS provider, choose Custom Nameserver.
After selecting this option, you will be able to manually enter your own nameserver addresses.
Once you've selected the appropriate option and the nameserver fields look correct, click Continue to proceed.
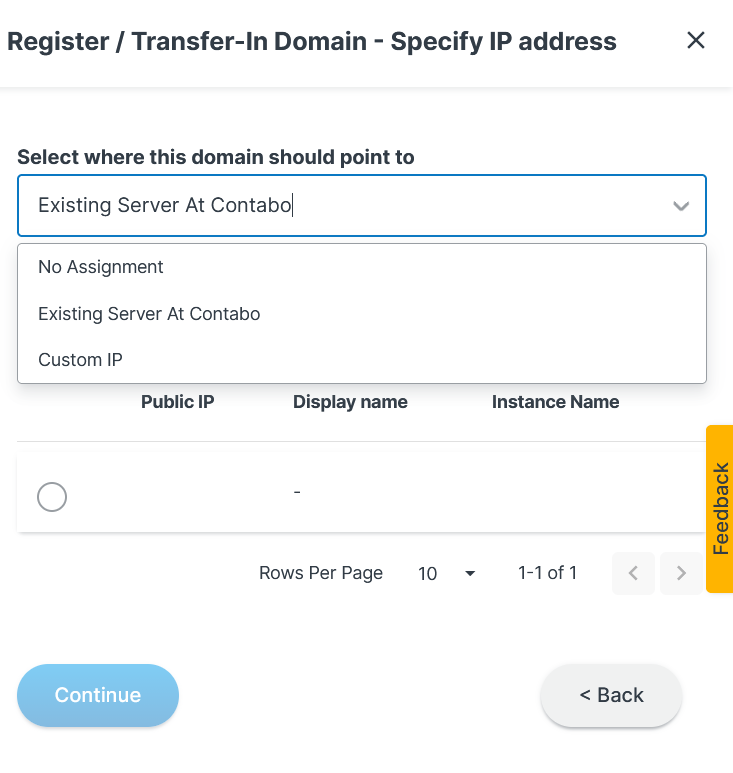
7. Specify where the domain should point
In the next step, you can choose how the domain should be connected by selecting its destination.
You will see three options in the drop-down menu:
No Assignment – Choose this if you do not want to link the domain to any server yet. You can configure it later in DNS settings.
Existing Server at Contabo – Select this to point the domain to one of your Contabo servers.
After choosing this option, a list of your available servers and their public IPs will appear.
Select the server you want the domain to point to.
Custom IP – Choose this if you want the domain to point to an external server. You will be prompted to enter the IP address manually.
After selecting the appropriate destination (and a server or IP, if applicable), click Continue to move to the next step.
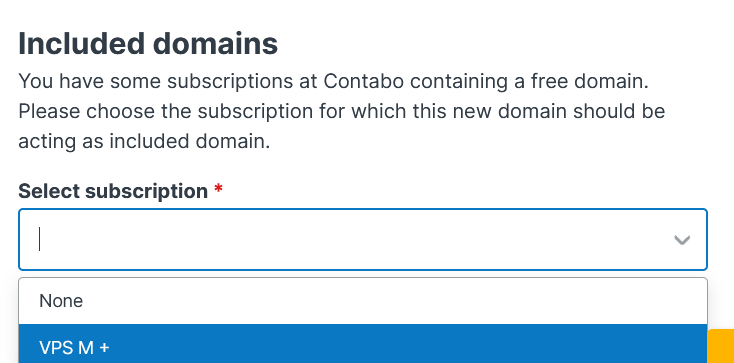
8. Select a subscription for the included free domain (if applicable)
If you have any Contabo subscriptions that include a free domain, you will be prompted to choose which subscription this new domain should be assigned to.
From the Select subscription drop-down, choose the subscription that should cover this domain as its included free domain.
If you do not want to use any subscription’s free domain allowance, select None.
In this case, the domain will be billed separately at the regular price.
9. Review and complete your domain order
In the final step, you will see a full summary of your domain order, including the selected nameservers, resolving IP (if assigned), and all associated settings.
Carefully review all details to ensure everything is correct.
Tick the required checkboxes to confirm:
That you have read and accepted the GTC, including the specific domain conditions.
That you agree to the immediate start of service and acknowledge the implications for your right of withdrawal.
Once all confirmations are checked, click Order & Pay to finalize the registration.
Note: After submitting the order, the domain registration may take a few minutes to complete.
Was this article helpful?
That’s Great!
Thank you for your feedback
Sorry! We couldn't be helpful
Thank you for your feedback
Feedback sent
We appreciate your effort and will try to fix the article
